This post will go through how to use Docker to create a full stack javascript application with Next.js for server side rendered goodness and Prisma 2 backed GraphQL server all orchestrated by Docker-Compose.
Why Docker?
Docker has revolutionized web development by separating out different parts of your technology stack into separate Docker Containers. By developing your code in Docker, you can ensure that it will work exactly the same in your development environment as it does in production.

How is it organized?
We run Next.js in a frontend container, GraphQL Yoga connected to Prisma in a backend container, and the Prisma Studio UI in a third container. We read from a MySQL database in a fourth container that we make available to the Prisma UI and the backend server.

What are we building?
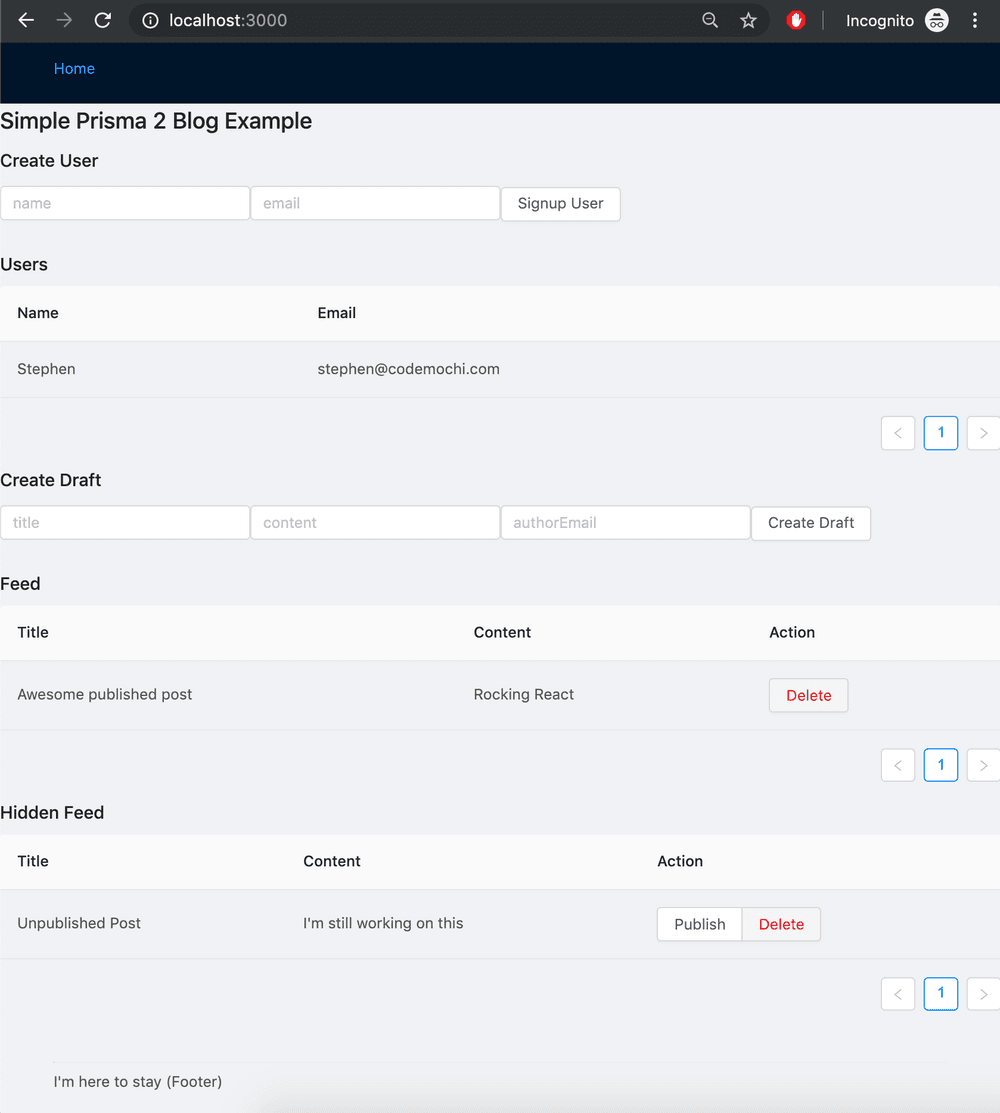
We are building a blog web app based on the example blog project that comes with the Prisma 2 CLI. Here are the actions we can perform from the backend:
Queries:
- Read all published blog posts
- Read all draft blog posts
- Read all users
Mutations:
- Create a user
- Create a blog draft
- Publish a blog
- Delete a blog
Obviously in a real application, you’d never allow anyone to see all the users or unpublished blog posts- but doing this for here so we can see all the posts and users as they are created and modified right from our Next.js website.
Where's the code?
We have the final code posted over on Github.
#Table of Contents:
Part I- Set up the Repo and Configure the Backend (this post)
-
Create the base repo
-
Create the Next.js frontend
-
Create the boilerplate Prisma 2 backend
-
Dockerize our web app
a. Create a docker-compose file
b. Add Dockerfiles for each container
-
Configure the backend
a. Switch database from SQLite to MySQL
b. Remove unused backend boilerplate code
c. Update backend queries in Prisma Nexus
-
Verify our Docker-Compose cluster works
Part II- Configure the Frontend
- Add GraphQL fragments, queries and resolvers
- Add GraphQL-Codegen for generating React Components
- Add Apollo and create HOC for Next.js
- Add React-Apollo to project root
- Install Antd for a beautiful site layout
- Create the Main Layout
- Create a Users Layout Component
- Create a Signup User Component
- Create a Feed Layout Component
- Create a New Draft Component
- Create a Publish Draft Button Component
- Create a Delete Post Button Component
Below we will go through Part I of this outline- be sure to skip to the end for videos that walk through this whole process.
#Part I- Setup the Repo and Configure the Backend
1. Create the base repo
First let's create a project and set the correct version of node using nvm. If you haven't installed nvm yet, its a tool that allows you to switch between different versions of node and npm. You can check it out here.
mkdir blog-prisma2
cd blog-prisma2/
nvm use 10.15.3
Now we can initialize the project with npm and git. As you might know from you previous blog post I'm a huge stickler for good branching practices, so let's create a staging and feature branch now.
npm init -y
git init
git checkout -b staging
git checkout -b base
Let's now create a .gitignore in the root of our project and add all the file names and folders that we won't want committed in our repo. It's important that we do this before running any npm install commands because the number of files in node_modules is enormous and we don't want to commit those.
logs
*.log
npm-debug.log*

pids
*.pid
*.seed

build/Release
**/node_modules

.DS_Store
.next/
Now run these commands to make our first commit. Feel free to use Git Kraken or your favorite git tool:
git add .gitignore
git commit -am 'added gitignore'
2. Create the Next.js frontend
Now let's create a folder and make a new npm project within that folder. Then we can add react, next.js, a css loader for next.js and all the typescript dependencies.
mkdir frontend
cd frontend
npm init -y
npm install --save next react react-dom @zeit/next-css
npm install --save-dev @types/node @types/react @types/react-dom typescript
Now we can tell typescript to actually run using a tsconfig.json file. Make frontend/tsconfig.json:
{
  "compilerOptions": {
    "allowJs": true,
    "alwaysStrict": true,
    "esModuleInterop": true,
    "forceConsistentCasingInFileNames": true,
    "isolatedModules": true,
    "jsx": "preserve",
    "lib": ["dom", "es2017"],
    "module": "esnext",
    "moduleResolution": "node",
    "noEmit": true,
    "noFallthroughCasesInSwitch": true,
    "noUnusedLocals": true,
    "noUnusedParameters": true,
    "resolveJsonModule": true,
    "skipLibCheck": true,
    "strict": true,
    "target": "esnext"
  },
  "exclude": ["node_modules"],
  "include": ["**/*.ts", "**/*.tsx"]
}
Toward the end of this tutorial we will use antd for all of our styling so let's go ahead and add css support so we can use the stylesheet when we get to that point. Create a next-config file and add the css plugin to it:
make frontend/next.config.js:
const withCSS = require('@zeit/next-css')
module.exports = withCSS({})
Now we can make a frontend/next-env.d.ts file which contains a reference for the next.js types used in our project:
/// <reference types="next" />
/// <reference types="next/types/global" />
Now that we have these base files, we can actually start creating our react components. First to get organized, make frontend/components and frontend/pages folders. Then create frontend/pages/index.tsx:
import * as React from 'react'
import { NextPage } from 'next'

const IndexPage: NextPage = () => {
  return <h1>Index Page</h1>
}

export default IndexPage
Next.js uses the convention that React components in the pages directory are routes for the website. The index page represents the / route and in our React component above, we are just creating a page that simply displays an h1 heading.
Now we need to add the next.js scripts to the frontend/package.json file so that we can easily start and stop our frontend server:
  "scripts": {
    "dev": "next",
    "build": "next build",
    "start": "next start",
    "type-check": "tsc"
  },
Next.js 8.1.1 natively supports typescript which we will need for our project. Make a quick check that your version in your frontend/package.json file is up to speed. As of early July 2019, doing an npm install of Next.js will yield 8.1.0 so I needed to manually modify the version in package.json to:
"next": "^8.1.1-canary.61",If you need to update it, make sure you run an npm install after editing the package.json file so that you fetch the latest version.
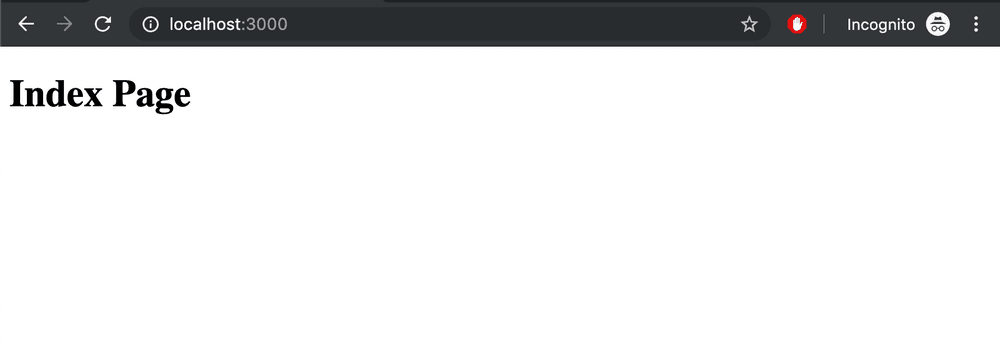
Next, start the server by running npm run dev. Go to http://localhost:3000 and confirm that the index page comes up:

Once you are satisfied that it is running, stop the frontend server by pressing ctrl+c.
3. Create the boilerplate Prisma 2 backend
Now we have to make our backend. Navigate back to the blog-prisma2 directory and initialize Prisma 2.
npm install -g prisma2
prisma2 init backend
  // Select SQLite
  // Select Photon and Lift
  // Select Typescript
  // Select GraphQL Boilerplate
This process will create a folder called backend which it will clone a blog backend into using Prisma 2. We could just start it up and move from there but we will instead start the process to get it integrated into docker right off the bat so we don't have to mess with SQLite at all and will instead hook our backend up to a MySQL database from the start.
4. Dockerize our web app
a. Create a docker-compose file.
Now we want to dockerize our application. Create docker-compose.yml in the root of the project.
version: '3.7'
services:
  mysql:
    container_name: mysql
    ports:
      - '3306:3306'
    image: mysql:5.7
    restart: always
    environment:
      MYSQL_DATABASE: prisma
      MYSQL_ROOT_PASSWORD: prisma
    volumes:
      - mysql:/var/lib/mysql
  prisma:
    links:
      - mysql
    depends_on:
      - mysql
    container_name: prisma
    ports:
      - '5555:5555'
    build:
      context: backend/prisma
      dockerfile: Dockerfile
    volumes:
      - /app/prisma
  backend:
    links:
      - mysql
    depends_on:
      - mysql
    container_name: backend
    ports:
      - '4000:4000'
    build:
      context: backend
      dockerfile: Dockerfile
    volumes:
      - ./backend:/app
      - /app/node_modules
      - /app/prisma
  frontend:
    container_name: frontend
    ports:
      - '3000:3000'
    build:
      context: frontend
      dockerfile: Dockerfile
    volumes:
      - ./frontend:/app
      - /app/node_modules
      - /app/.next

volumes: #define our mysql volume used above
  mysql:
Let's take a look over this file. It's divided into 4 services: mysql, prisma, backend, and frontend. We've already created our frontend server and tested it outside a docker container and now we will move it in. The prisma container is for the Prisma Studio UI, the backend is our backend server, and mysql is our database. Here are the key fields in each service and what they do:
-
container_namethis is what we will call our container- for simplicity have it match the service name. -
imageif we are downloading an image from docker hub, we will put it here. -
buildif we are not downloading from docker hub we will build our image and this block gives instructions about which folder is the working directory for the build and what the name of ourDockerfileis (which we will create below). -
environmentAny environmental variables go here. -
restartEnsures that we restart our container if it dies. -
linksanddepends_onsets up a connection between the two containers and specifies that a particular container should wait on a different container before starting. -
volumesspecifies which kind of volumes the containers should create. One that has a:in it means that we are creating a link between a folder on our computer and a path in our container. The kind without a colon just means that it will save that folder during the build step so we can use it when the container runs. This is important fornode_modulesfor example because we want to make sure that our docker container keeps that folder during thenpm installstep of the build phase because that folder is needed to run our application.
Now let's add some scripts to make our life easier in the base (not frontend or backend) package.json file:
    "start": "docker-compose up",
    "build": "docker-compose build",
    "stop": "docker-compose down",
    "clean": "docker system prune -af",
    "clean:volumes": "docker volume prune -f",
    "seed": "docker exec -it prisma npm run seed",
b. Add Dockerfiles for each container.
Now we need to create Dockerfiles for the frontend, backend, and prisma containers. These files contain the steps needed to standup a server. Add the following three Dockerfiles:
frontend/Dockerfile:
FROM node:10.16.0

RUN mkdir /app
WORKDIR /app

COPY package*.json ./
RUN npm install

CMD [ "npm", "run", "dev" ]backend/Dockerfile:
FROM node:10.16.0
RUN npm install -g --unsafe-perm prisma2

RUN mkdir /app
WORKDIR /app

COPY package*.json ./
COPY prisma ./prisma/

RUN npm install
RUN prisma2 generate

CMD [ "npm", "start" ]backend/prisma/Dockerfile:
FROM node:10.16.0
RUN npm install -g --unsafe-perm prisma2

RUN mkdir /app
WORKDIR /app

COPY ./ ./prisma/

CMD [ "prisma2", "dev"]
All of them start with a FROM block which is the image that we are pulling. In our case, we are using the official release of Node.js. Then, we create an app folder that we copy the package.json and package-lock.json into so that we can run an npm install to get all of our packages.
We copy the prisma folder into our backend server so that we can generate a prisma dependency that is built from our schema.prisma file (formerly named project.prisma). The cool thing here is that as we modify our schema, the dependency that is generated will change to match it. The prisma container requires the prisma folder in order to perform migrations against our database to create all the different tables needed to match our schema.
Our frontend Dockerfile is simpler because it only needs to install all the package dependencies and doesn't need to know about the prisma folder.
Configure the backend
a. Switch database from SQLite to MySQL
We have our docker-compose file, but one thing you'll notice is that we use MySQL in this file while we specify SQLite in the Prisma set up step. Let's fix that by updating backend/prisma/schema.prisma file (formerly named project.prisma). Update the datasource db block with this:
datasource db {
  provider = "mysql"
  url      = "mysql://root:prisma@mysql:3306/prisma"
}
Note that we are giving it a connection string with a password and database name that we specified in the docker-compose.yml file.
b. Remove unused backend boilerplate code
Now we can delete the following file that we won't be using for our project.
backend/src/permissions/*
backend/src/resolvers/*
backend/src/utils.ts
backend/README.md`
c. Update backend queries in Prisma Nexus
In the backend/src/index.ts file, add a users query:
t.list.field('users', {
  type: 'User',
  resolve: (parent, args, ctx) => {
    return ctx.photon.users.findMany({})
  },
})
In the same file, add a boolean input to the feed query called published where we can either specify if we want published or non published posts. Make sure to add the booleanArg to the import for @prisma/nexus at the top of the file:
import {
  idArg,
  makeSchema,
  objectType,
  stringArg,
  booleanArg,
} from '@prisma/nexus'
// Lines of code omitted for brevity...
//
//
t.list.field('feed', {
  type: 'Post',
  args: {
    published: booleanArg(),
  },
  resolve: (parent, { published }, ctx) => {
    return ctx.photon.posts.findMany({
      where: { published },
    })
  },
})
6. Verify our Docker-Compose cluster works
We use npm run build to build our images, then npm start to start up our project. We can stop our project with npm run stop and clean our volumes, images and containers using the clean commands.
Going forward, if we install new package dependencies using npm, we need to stop our project and re-build it to ensure that our docker images are up to date. When in doubt an npm stop followed by npm run clean should do the trick.
Now we need to build our images to make sure they work. From the root of the project type:
npm run buildNow that we've build the image, let's start it all up npm start. Start by going to http://localhost:3000. We should see our Next.js app:

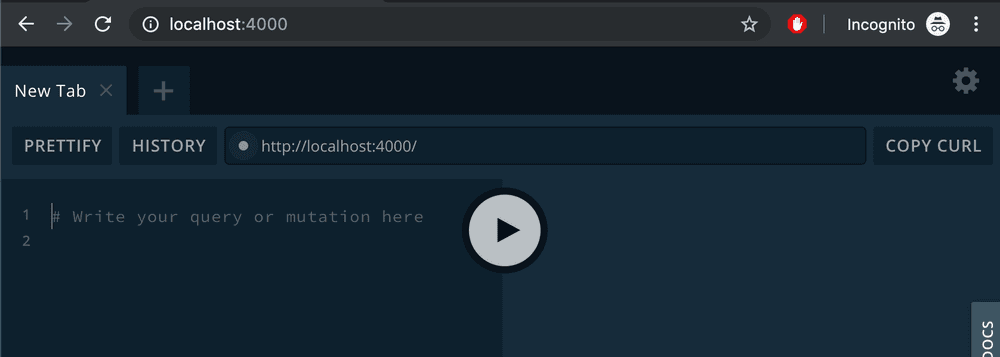
Now let's go to http://localhost:4000, we should see our backend GraphQL playground:

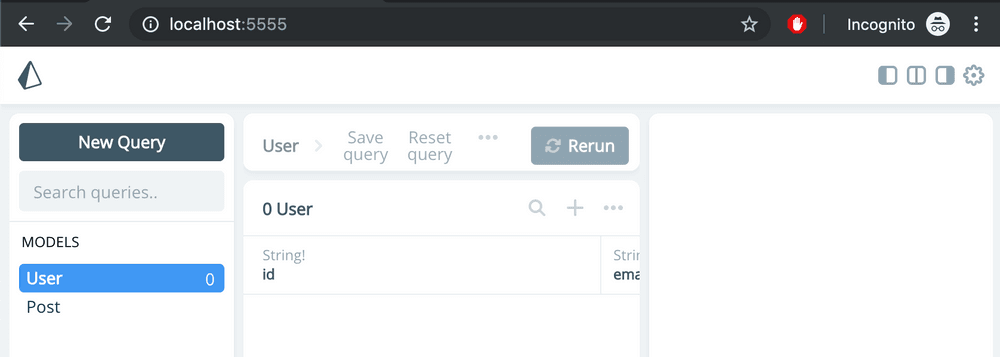
Finally, lets go to http://localhost:5555, we should see the Prisma Studio application:

Awesome! What we've done is make a starter docker-compose environment where we are running 3 webservers and a database server that we can start with a single command. Now let's save our work in git and then simplify it all so we have a good place to build off of.
git add .
git commit -am 'added base projects'
Now we have made all the changes we need for the backend. In Part II of this post we will move onto the frontend.
Video Series for Part I:
Architectural Overview
What we are building
Set up our project with Git and NPM
Create Next.js Frontend
Create Prisma 2 Backend
Create our Docker Compose
Create our Dockerfiles
Connect Prisma 2 to MySQL
Add new Queries to our Backend
Start up our Docker Environment